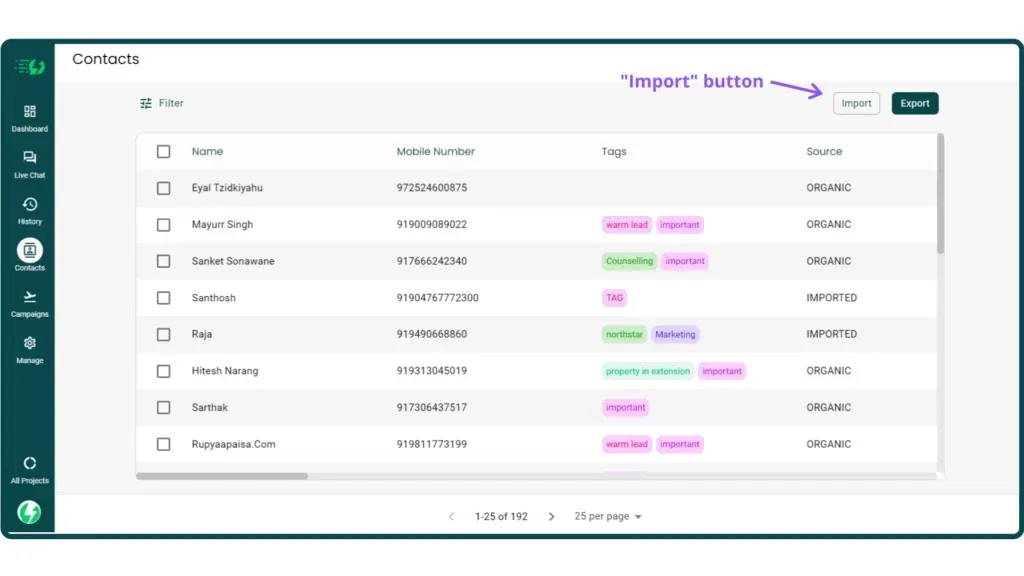
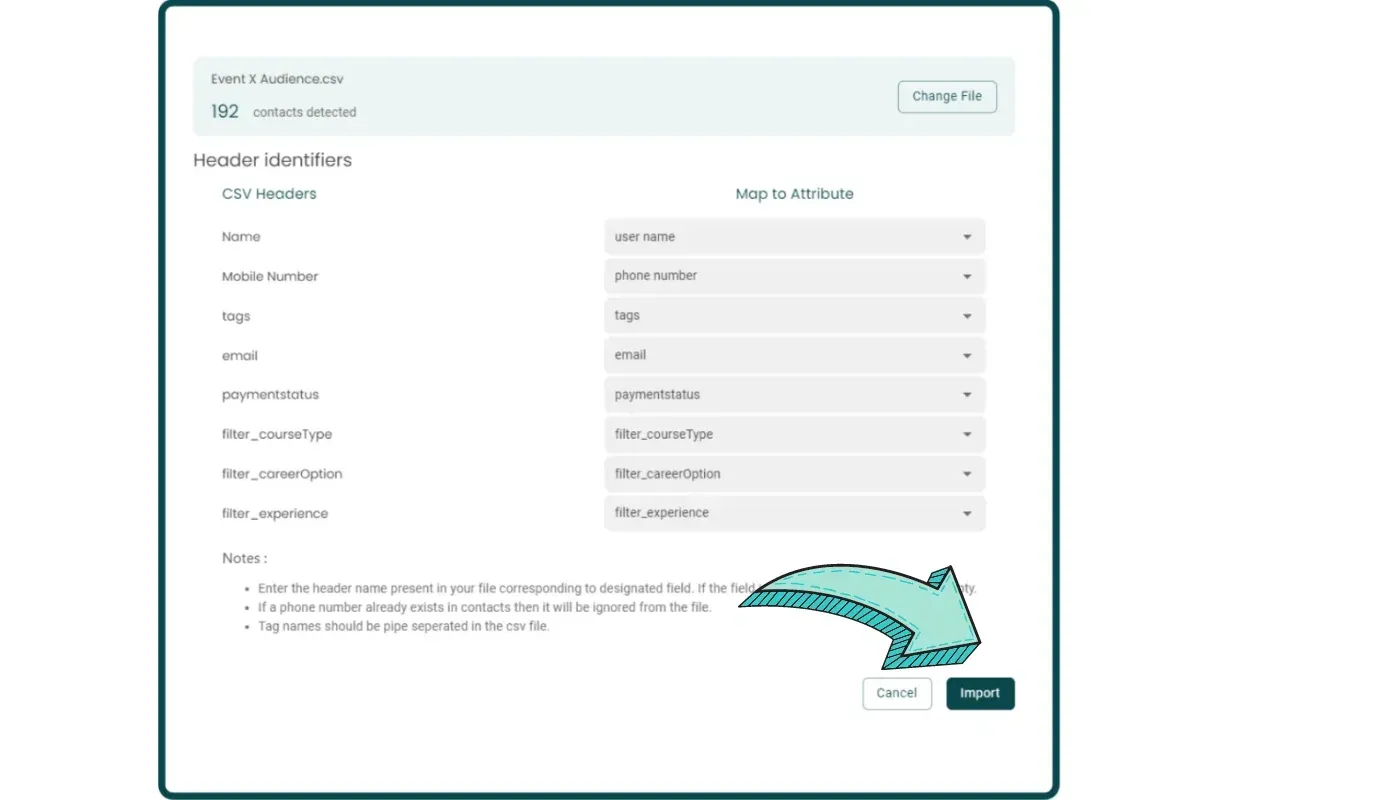
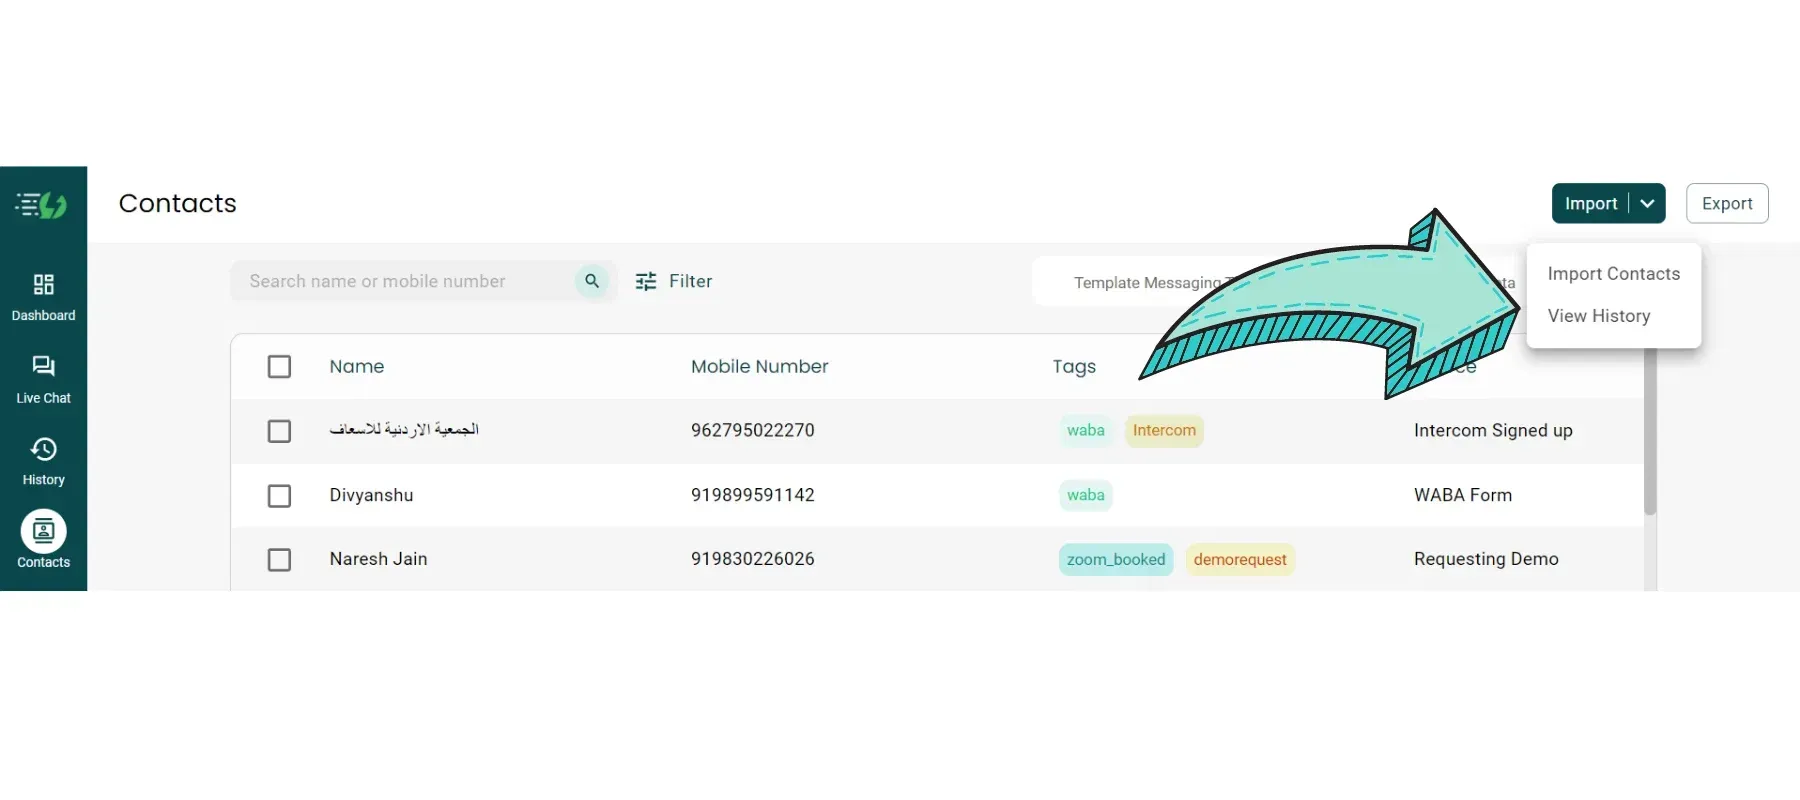
How to import Contacts to AiSensy Dashboard
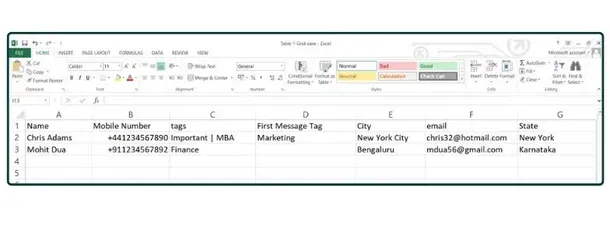
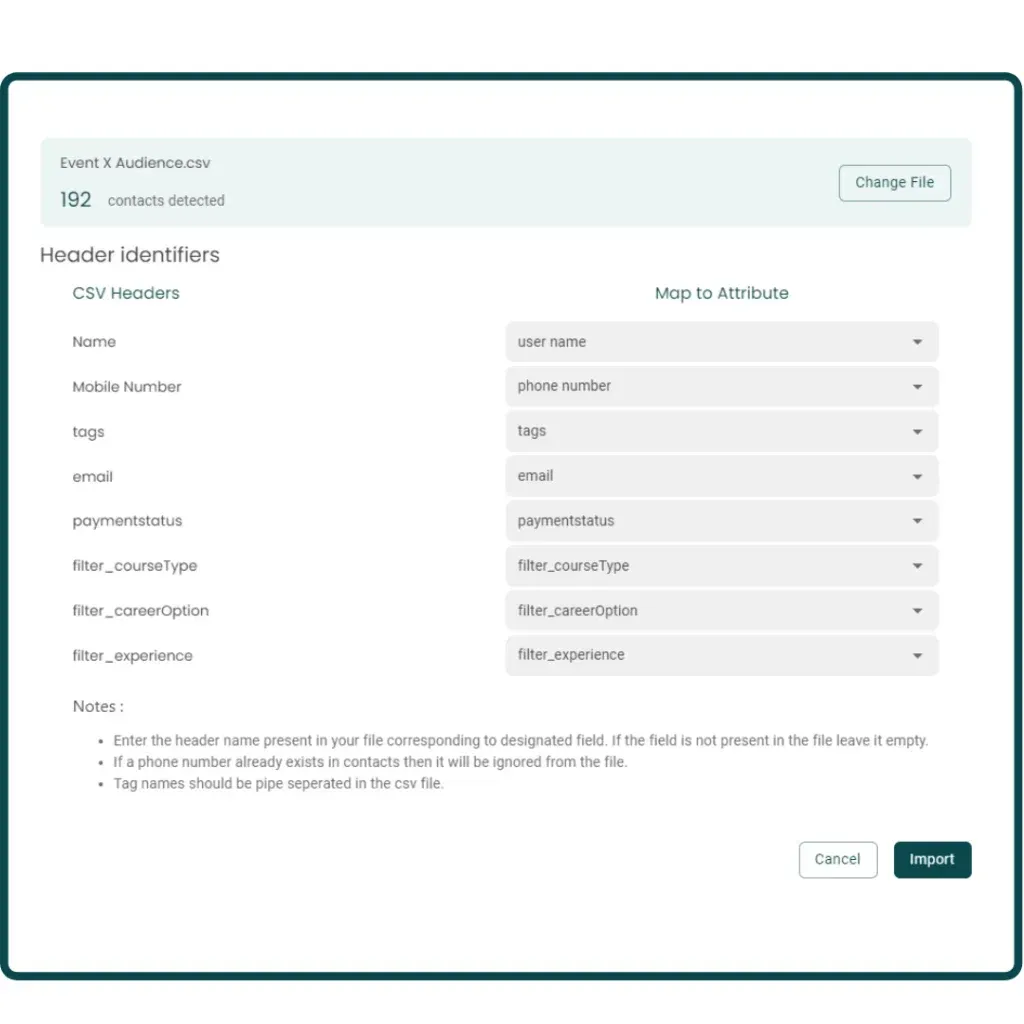
With AiSensy's WhatsApp marketing and engagement platform, you can import up to 2,00,000 user contacts easily by creating a .csv file.
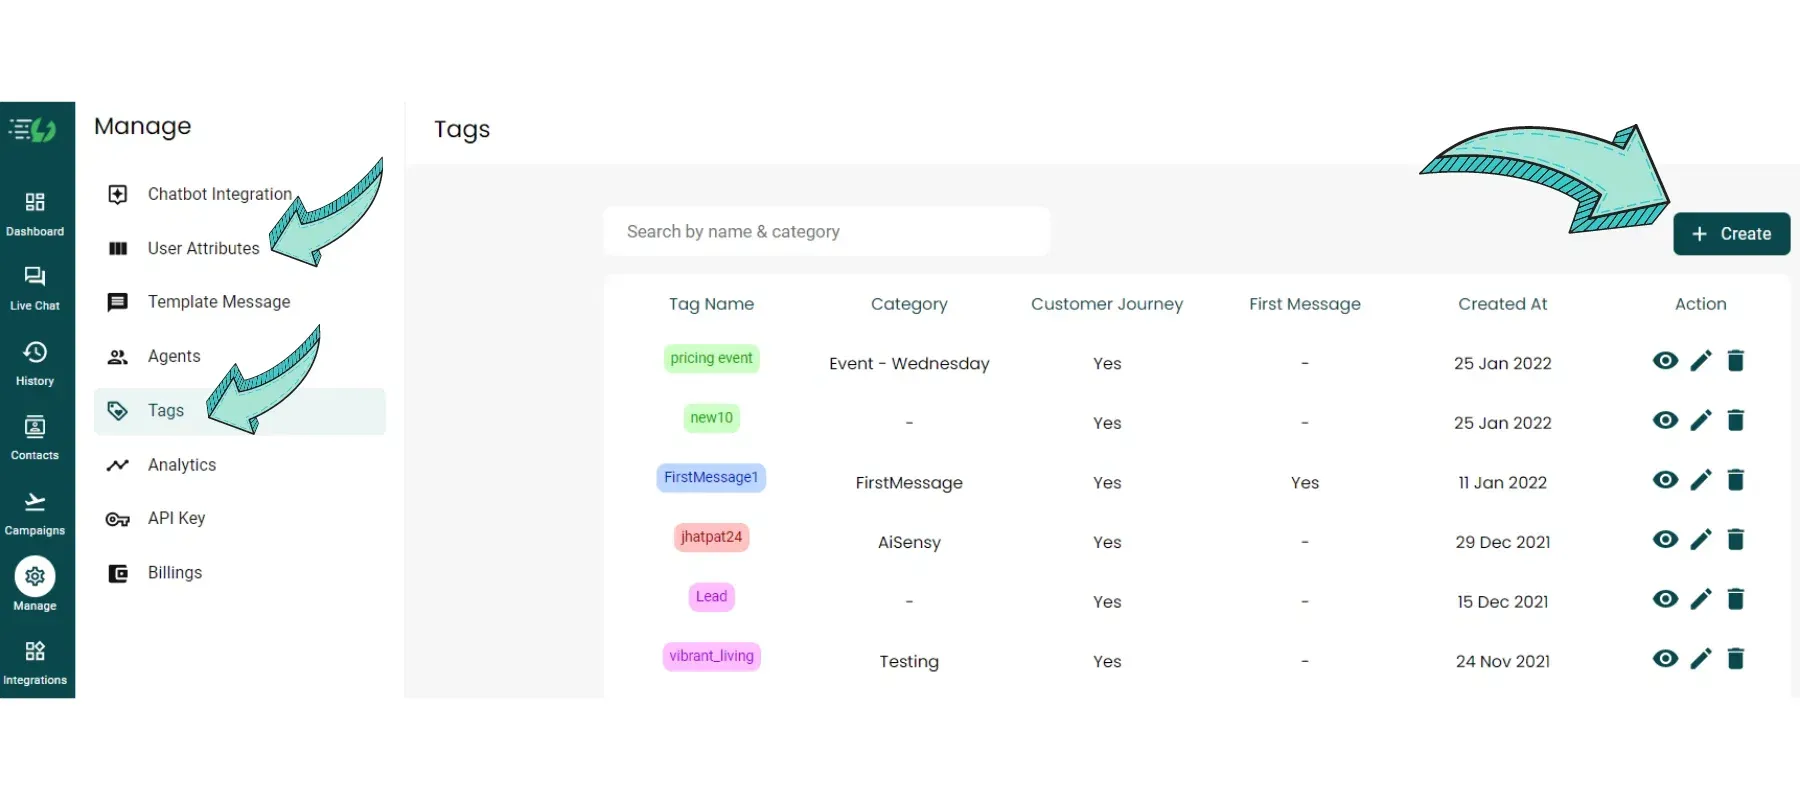
Along with the names & numbers of all contacts, you can also import helpful information like tags & the lead's source.
⚡️Powered by Official WhatsApp Business API